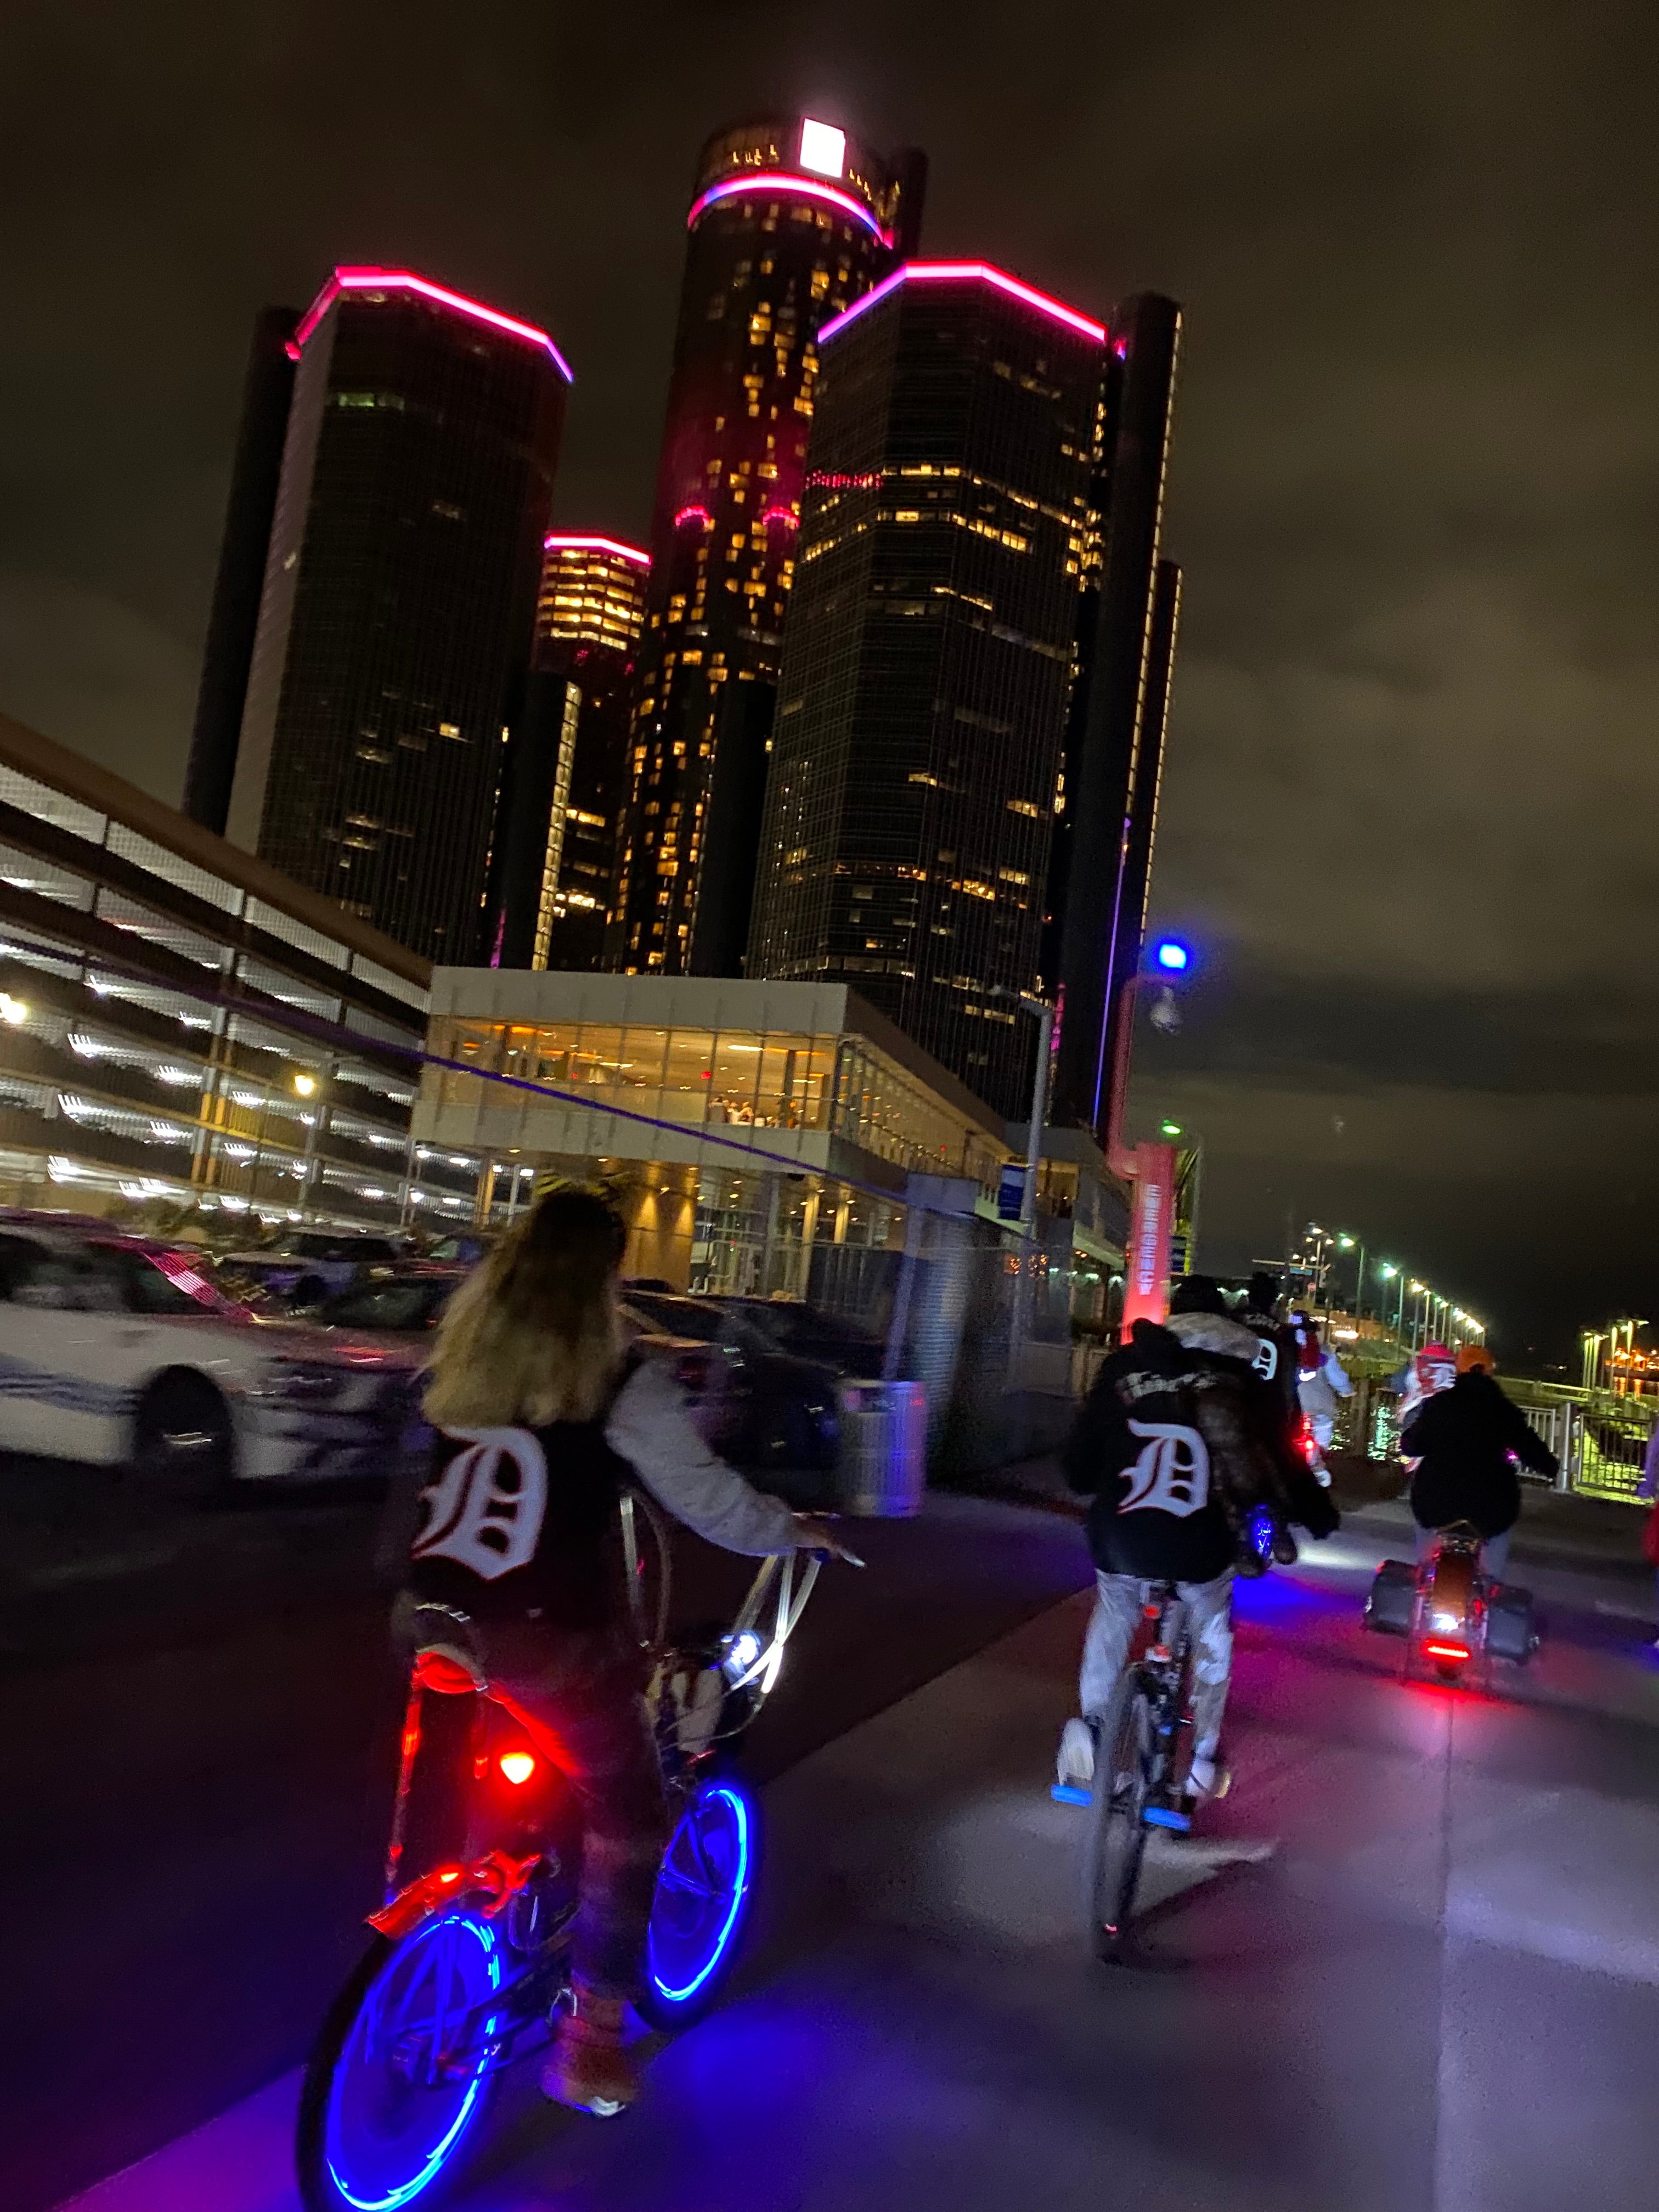
How To Install LED Bike Wheel Lights

Ride and Shine Kawaii Women’s Cropped Hooded Sweatshirt
Regular price
From $48.52 USD
Regular price
Sale price
From $48.52 USD
Unit price
per
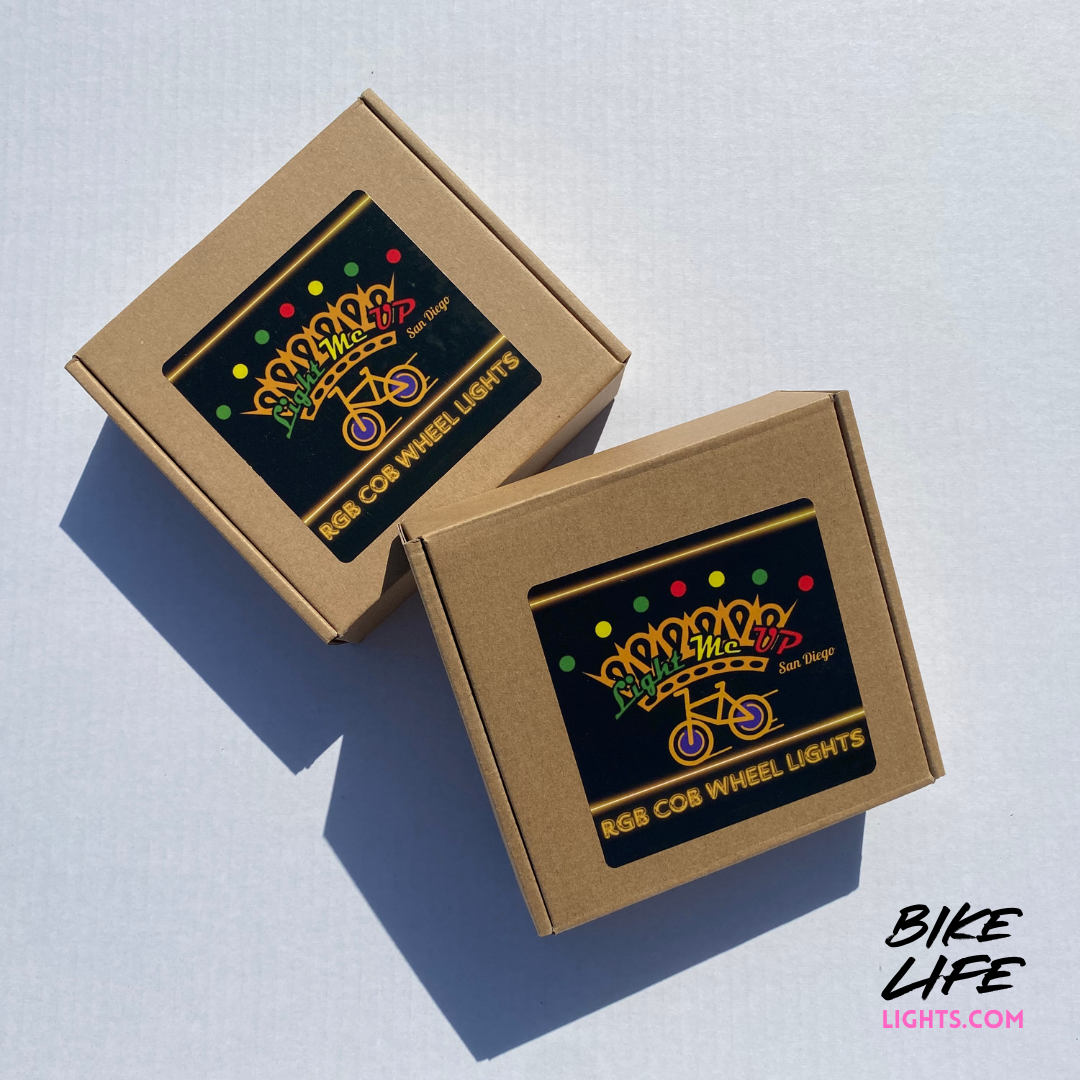
Bike Lights
Bike Lights from Bike Life Lights